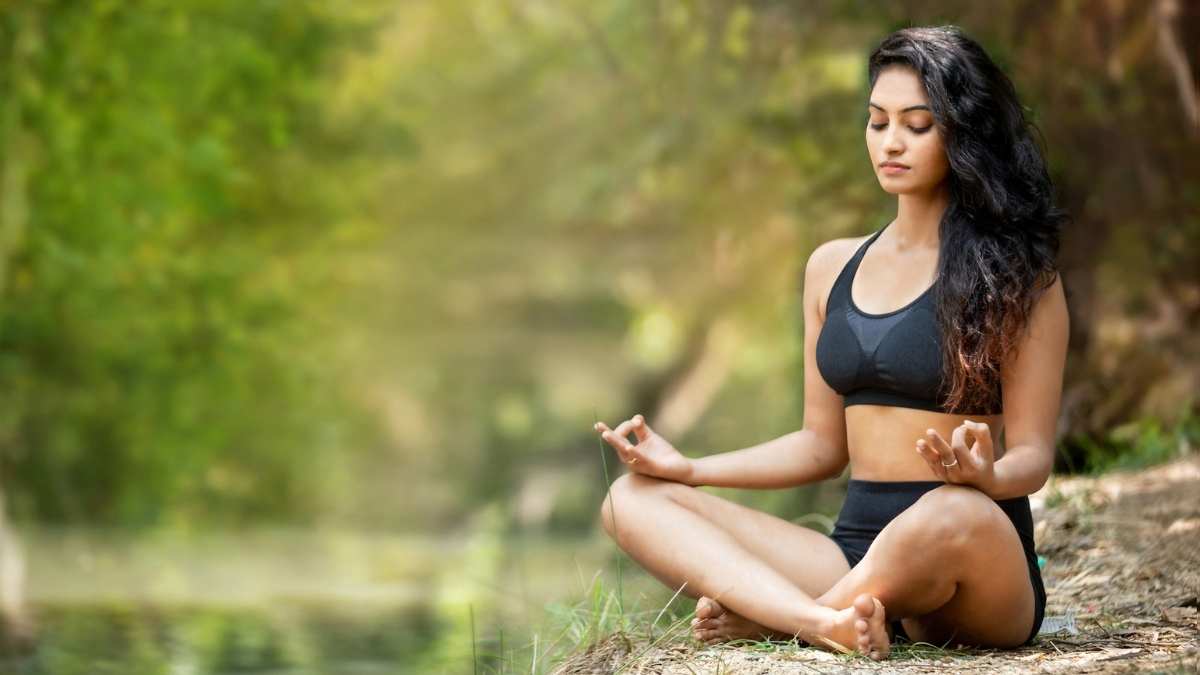
5 yoga poses for weight loss

Yoga can be a promising way to help with weight loss , behavioral change and maintenance by burning calories, reducing stress and increasing mindfulness.
Carrying extra weight makes you feel heavy and inactive. Whether it’s men or women, it is regarded psychologically that a toned and fit body can add to the self-confidence quotient greatly.
5 yoga asanas that will help you burn belly fat:
Vasisthasana (side plank)
Formation of the posture
- Begin with Plank.
- Put your weight into your right hand. Carefully roll to your right, assemble your left foot on top of right.
- Rest your left hand on your left thigh and exhale. Reach your hand towards the sky and inhale, spreading your fingers wide.
- Lift your hips and keep your body in one diagonal line. Look towards the sky.
- Hold the pose and take slow, deep breaths.
- Lower your hand to the floor and exhale. Change sides.
Padahastasana
Formation of the posture
- Stand with the spine erect, feet together and hands beside the body
- Relax your body
- Distribute the weight of the body evenly on both feet
- Gradually bend forward
- While bending forward, imagine that the body has no bones.
- Do not force the body. Place the fingers underneath the toes or catch your ankles
- Relax the back of your neck
- Maintain your legs and knees active, they should remain straight
- Take a few deep breaths.
Trikonasana (Triangle pose)
Formation of the posture
- Stand straight, keep your legs wide apart.
- Now keep your right foot out at 90 degrees and keep your left foot in at 15 degrees. Keep your arms wide on both sides.
- Make sure your weight is equally distributed on both your legs.
- Now inhale deeply. While exhaling, bend your body to the right side and downward from the hips, taking your right hand downwards and left hand upwards.
- Keep your waist straight and your eyes open.
- Now rest your right hand on your ankle or toes, keeping your left hand pointed upwards towards the ceiling.
- Stretch your body and keep taking long deep breaths.
- Hold this position for 20-25 seconds and relax your body as you practice trikonasana.
- To get back to the starting position, come up as you inhale and bring your arms downwards on your sides.
- Repeat on the other side.
Virabhadrasana
Formation of the posture
- Form Downward Facing Dog, step your right foot forward to the inside of your right hand.
- Pivot on the ball of your left foot and drop your left heel to the floor with your toes turned out about 45 degrees from the heel.
- Turn your right knee directly over your right ankle so that your right thigh is parallel to the floor.
- Rise to standing, bringing your arms out to the side and up toward the ceiling. Your chest stays open as you come into a slight spinal extension.
- Your palms can touch overhead or stay shoulder’s distance apart, whichever is more comfortable.
- Lift your gaze up toward your thumbs and slide your shoulder blades down the back.
- Check the alignment of your hips. Draw your right hip back and your left hip forward so that both hips are squared to the front of your mat.
- Ground down through the outer edge of your left foot. Make sure your right thigh is still as parallel to the floor as possible.
- Drop your hands to your mat and step your right leg back to Downward Dog. Take a few breaths or move through a vinyasa before doing the left side.
Dhanurasana
Formation of the posture
- Lie on your stomach with your feet apart, in line with your hips, and your arms by the side of your body.
- Fold your knees, take your hands backward, and hold your ankles.
- Inhale, lift your chest off the ground, and pull your legs up and towards the back.
- See straight ahead with a smile on your face.
- Keep the pose stable while paying attention to your breath. Your body is now curved and as taut as a bow.
- Continue to take deep breaths as you relax in this pose, but bend only as far as your body permits you to. After 15 to 20 seconds, as you exhale, gently bring your legs and chest to the ground. Release the ankles and relax.
Disclaimer: This article is for information purposes only. It is not to be taken as medical advice.
